Chernobyl: Chapter One
Title: Chernobyl: Chapter One
Link: https://steamcommunity.com/workshop/filedetails/?id=1646203073
https://www.moddb.com/mods/chernobyl/downloads
Author: Av3ris (chernobyl-l4d2.de)
Survivors: L4D2
Notes: There is an exceptional level of detail here that may cause random drops of framerate and/or crashes.
I had been waiting for Chernobyl to be released ever since first stumbling across screenshots of it on ModDB in 2016. Very few images and details came to light in the intervening years. To my surprise, more progress had been made than I was expecting and the campaign dropped shortly before Christmas of this year. The images of this campaign on the group's ModDB page were truly something to behold, and this campaign delivers in all the ways the images teased. Chernobyl: Chapter One (apparently the first part in a series) is a fantastically detailed rendition of the infamous city of Chernobyl, with locations based directly on their real-world locales. It is stunningly recreated in all its gritty, grimy, and rusty beauty, without any sacrifice at all to gameplay or directionality. It is incredibly polished, and after eight years of development time, that may be expected but it really goes to show how much love and care has gone into making this a truly great experience.

The
campaign is five huge maps long, and it's odd for me to say this, but it really feels like there isn't a single bad map of the bunch. They're all incredible maps with an absurdly high level of detail maintained throughout. It might seem like an overstatement, but after having played over five hundred campaigns and not seeing a single one do foliage right, I can tell you that this campaign is probably the first does actually does it right. Nothing looks overly cartoonish or calls attention to itself that it's just a game, everything looks realistic and on-point. It can be a huge burden for the developer to try and convince players that the extra texture and model packs are worth the download, but it is very apparent here that they contribute a whole hell of a lot. They really make this campaign worth it.

One thing that really surprised me was how great the level design is. Never would I have expected, in a campaign this large, the possibility of branching paths, nor the fact that the maps logically lead you without necessary lighting tricks or a steady stream of goodies. The maps naturally unfold almost organically, consistently making sense and being based on real-world places, but also directing the player without confusing him. The fact that this campaign does it almost effortlessly is truly a testament to the amount of time and thought put behind it. In addition, nearly every room and hallway is different yet instantly recognizable, allowing for players to map out locations in their heads, making backtracking (if necessary) easier.

The first map starts off outside, close to a downed plane. As a side note, there is actually a kind of backstory of this campaign, which you can see in a Source Filmmaker trailer for the campaign here. Anyway, the campaign starts with the usual as you make your way through some industrial factory buildings that have been hit hard by the radiation and have suffered realistically, barely holding up in a dilapidated manner. Throughout the campaign and present almost right from the beginning are areas where you'll hear a geiger counter going off, usually accompanied by a warning sign. Areas like this will do minor damage, about 1 HP per second or half-second. These are obviously special zones where the radiation is extra high. I felt that these areas that you have to avoid added a lot to the campaign, and the presence of a geiger counter to warn you of them was a realistic touch. Additionally, there are a lot fewer resources, which you'll have to make sure will last you a lot longer now that they maps are far larger than the average map length. Once you make your way far enough through the factories, you might find yourself at a branching path, one that takes you through some water and another that continues on an upper, dry path. Eventually you'll come to a place where you'll have to find a lever to activate a generator that will power up a saferoom door. The lever isn't located too far away from the switch, so it's not a particularly difficult or annoying search.

Spoiler alert: the saferoom door doesn't actually lead to the map's saferoom, which is surprising given the fact that at this point, you'll probably already feel that the map's length should be winding down. However, the map continues for a bit to an upper level and an outdoor area. As you search through some later areas outside, eventually you come to the actual saferoom. The first level is clearly on the easier side as the map tends to be fairly open (or at least not too cramped) and there are definitely enough supplies to last you, although you'll have to look around for some additional weapons from time to time.

The
second map leads out of a dark building and into a brightly lit outdoor scene, where unfortunately you have to pass through a radiated area that seems like minor damage is unavoidable. This takes you to a large swimming pool that swarms with infected. This is about the point in the campaign where it started to become more clear that the infected spawn more quickly and in very large numbers. The building with the swimming pool is a tricky business to climb, as there are a few different paths to take and a lot of them are in close quarters, making infected quite dangerous.

After the swimming pool area, you eventually head outside again and make your way to an apartment complex that has a courtyard in the center. It's here, and then later on again in map 4, that the directionality becomes a bit too reliant on orange arrows, so directionality could've been maybe made a bit more intuitive. Lighting used as a hint for where to go is an often-used trope, but isn't used at all in this campaign. The positive aspect of this is that it's realistic, and the great scope of the map gives the player a great deal of space to explore. The player winds around and around the different apartments, and the location gives off a vibe kind of like the apartments section of City 17 in Half-Life 2, except done a thousand times better. There are really some nice locations here; the one I'll highlight is a kind of makeshift tunnel through some debris that we had to back out of because a tank came out of nowhere to fight us. The rest of the chapter is more on the residential side of things rather than the industrial factory feel of the first map. It ends with a saferoom at the end of a dimly lit, bleak hallway.

The third map is central Pripyat with the famous amusement park. The ferris wheel is fully modeled and textured, as is the bumper car ride, and you can go right up to both. The only downside is that this space isn't utilized as well as it could. As it stands, it's just kind of there for viewing, but it isn't present as any kind of event. Furthermore, the amusement park is in a large, open space that makes infected kind of a joke, especially since the saferoom with the ammo pile is close by. Contrast this with a campaign like Dark Carnival: Remix, where in the fourth map, the ferris wheel is the logical highlight at the end of the map to which things had been leading up.

The map continues on to a large gymnasium with some complicated pathing and with so much rubble and debris around that it looks like it was hit by a bomb. It's a fairly large building that leads to a giant, wide open field in the back. At the far end, you need to fill up a container with three cans of gas, so you'll have to find those in the building or scrounge around for some. Interestingly, we stumbled across some weapon caches in the area, so they're around if you take the time to look.

Upon blowing open the wall to the next building, you're met with the expected horde. Continuing on, the next building is fairly short and leads to an area with a ton of foliage, and it looks very realistic and natural for Source foliage, which is usually very cartoonish. The map doesn't continue much further before the saferoom. Overall this is a very nice-looking map that tends to look best in the beginning without having anything really to do in the areas that look best, unfortunately. It could be put to better use by having events around the amusement park and gymnasium rather than around the less memorable parts.

The fourth map is a big change of pace. For one thing, the map takes place in a dark, gloomy time of day when it's also raining outside. It also primarily takes place in very cramped spaces. It starts you off in an apartment complex with much tighter rooms (think the type of hotel rooms of the first map of Dead Center), which is especially dangerous with the increased spawn rates of the special infected. It's also darker and easier to get lost and separated from the group as we scavenged for items, we found. Heading upwards ends up leading nicely to a convincing way down, which was where we fought a monstrosity of a tank.

The
tank reskin is cool but on its death, it caused the game to stutter for us. In any case, the brief outdoor area leads to a large school that is leagues better than the school in Back To School. Many of the props can be interacted with and there weren't any areas with a drop in framerate (in fact, the only area that did was the outdoor area just before this). The campaign continues by leading the players to a room where there's some science equipment that has to be set to the right frequency for a hidden door to open.

This door leads to the deadliest section in the campaign, the sewers. The sewers are dark, dank, and incredibly cramped. It's overgrown with fungus, bacteria, and other nastiness, and it gives off a disgusting organic vibe like Scorn. It's not really confusing to find the way forward, the problem comes in the fact that the special infected hit the players relentlessly and spitter acid is a particularly big problem. The main issue I think is that at this point, the player will likely be extremely low on ammo and health, and therefore resort to using a melee weapon to power through common infected, and resort to shoving to unpin allies. However, this means everyone's going to be close together, and it only takes one bad spit to end the map. This makes everything tense, especially since it's impossible to know how much more of the map there is left.

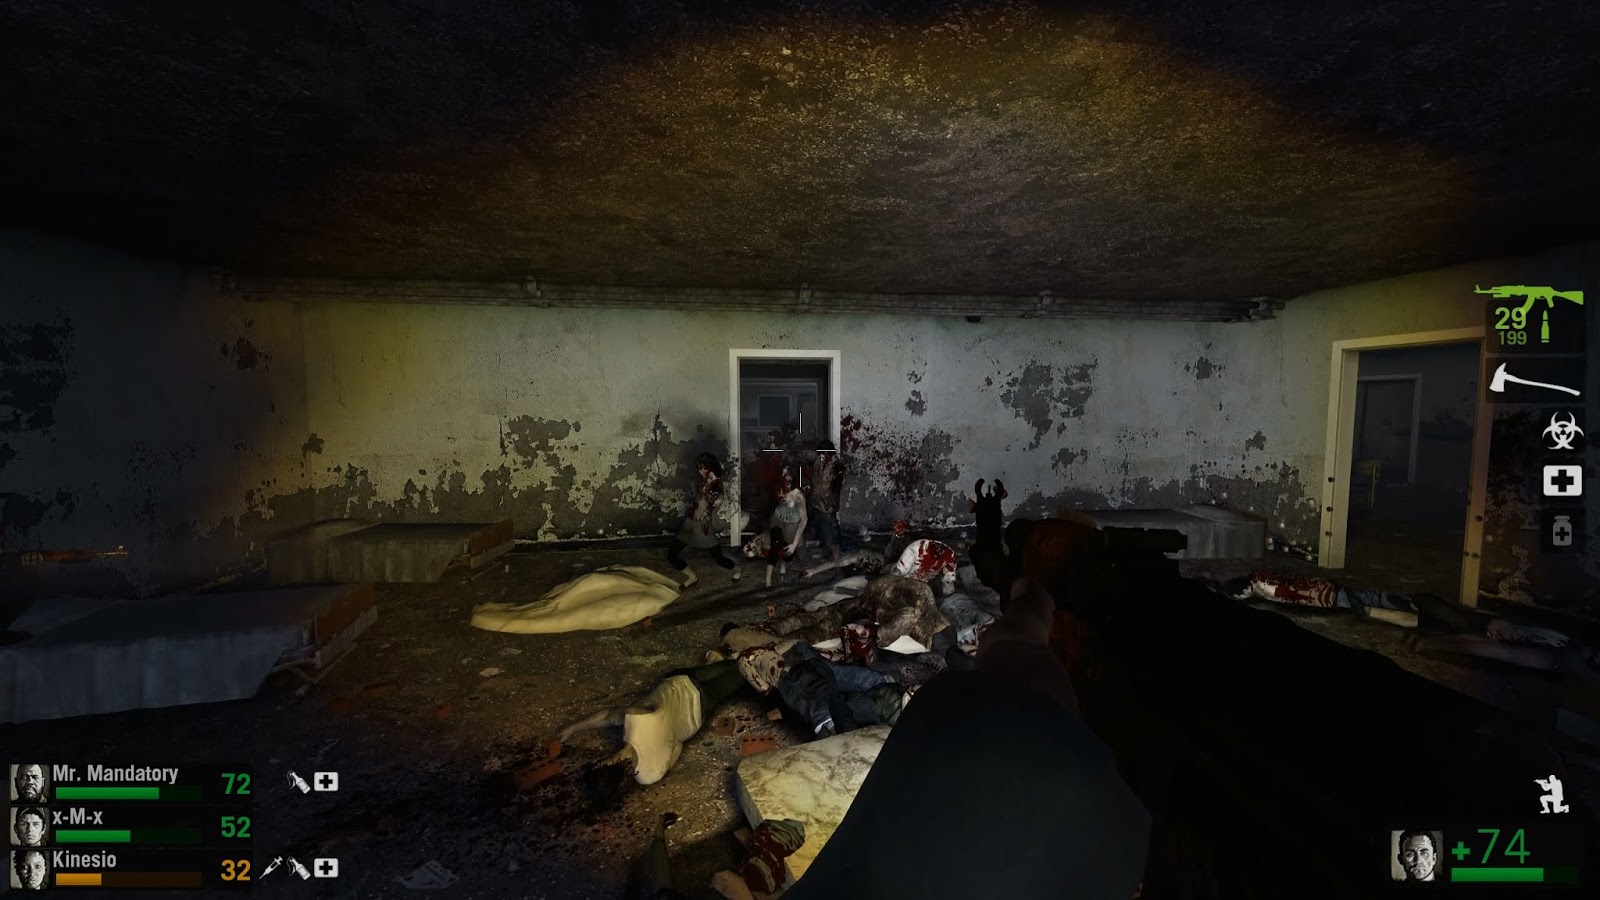
The map ends at the perfect spot where you think all is lost, when the saferoom is most welcome. The last map takes place in and around a hospital and is primarily a holdout finale with a generator beginning sort of like the finale to The Sacrifice. After hitting three generators and activating a switch, the party has to hold out against three waves of common infected and two waves of tanks with two tanks each. You can hold out from anywhere technically, but the most convenient place we found to hold out was in a room in the hospital with some beds, overlooking the main courtyard.
After the holdout, a bunker gate opens and you have to make a break for it. Thankfully there isn't much difficulty in running to it, and you're given some additional firepower of turrets to take out the final tanks and wait for the bunker to close. It's an exciting end to an just okay finale. The finale itself spawns a lot of infected but it's somewhat easy to exploit by being in a room with only two entrances.

Difficulty: This campaign is fairly difficult in that there are quite few resources that are spread even more thin by virtue of the fact that all the maps are very large. What's more, the time between special infected spawns is faster than usual, so it can feel pretty spammy with things like smokers or chargers. Hunters and jockeys aren't normally anything to really worry about, but smokers and chargers can decimate the team when surrounded by common infected. Overall it feels fair and it's by no means impossible, but I would recommend casual players to start on Normal, and more experienced players to begin on Advanced (Realism optional) if they want a real challenge. Mastery of Expert difficulty will in all likelihood require experience playing the campaign at least once to know where everything is and know the point of all the maps.

Final Verdict:
Chernobyl: Chapter One is a fantastic campaign. The environments are beautiful and incredibly well-optimized, and the level layout feels organic yet never really comes across as confusing. If I had one complaint, it was that the special infected spawned so quickly that it was difficult to take in all the time and effort that obviously went in to the campaign. At some point, I said to the other players, if Left In Prypiat were just one map of a five-map campaign, that would be like what Chernobyl: Chapter One is. This is a campaign that really requires some thinking on, it's not one you can just come away with a single opinion on. It's very intelligently made, but I suppose in one or two regards, is held back a little. The finale in particular was somewhat disappointing in that it was simply a holdout (I feel gauntlets really elevate finales to something special), and the spawn rate of SI occasionally could feel spammy when that clearly wasn't the intent of the author. Hopefully there is another pass through the difficulty of the campaign, as it may also need a bit more playtesting to iron out the places where there might be crashes or dips in framerate. Nevertheless, the campaign is of the same quality on a technical level as Dark Wood, though obviously it's a very stylistically different campaign. This is a must-play.
Rating: 4.98/5.


Hey, thank you so much for such a detailed review! I'm part of the chernobyl team and although I was not part of the mapping, it was really interesting to read your thoughts about it.
ReplyDeleteI'm happy that you like the visuals, after such a long development time my feelings about how good or bad the textures and models are looking got lost sometime.
Cheers,
Campeon