Questionable Ethics
Title: Questionable Ethics v1.2
Link: https://www.gamemaps.com/details/2795
https://steamcommunity.com/sharedfiles/filedetails/?id=339143805
Author: Nihilanth
Survivors: L4D2
Notes: There is a sequel to this campaign called Questionable Ethics: Alpha Test.
Questionable Ethics is an interesting, special campaign that in my estimation is the most popular and well-loved of L4D2 campaigns of the "tricks and traps" variety. It works in the fashion of linear progression as most standard campaigns but involves a lot of its own quirks and its own kind of language that requires players to think and approach scenarios differently. There is a high learning curve here but usually nothing outside the realm of figuring out after dying. I say usually because that's typically the case, but a couple of traps hold this campaign back because they're either trial and error or essentially luck-based.

Clearly one of the things that makes this so highly regarded is the aesthetic and the semblance of a sub-plot that can only be inferred by the occasional reference to something watching you. The environments use a very minimalistic aesthetic, with a cold and sterile feeling to the walls and rooms not unlike Portal. The tone feels a fair bit oppressive when it opens up to larger areas, which are somewhat analogous to when Portal or Portal 2 opens up to the large industrial underbelly of the gigantic facility. The first (and last) thing players will notice is the security camera watching the player, which is really all that needs to be shown for a setup. You instantly get what's going on, and I'm rather glad that the campaign doesn't feel the need to explain or, God forbid, have a fake GLaDOS voice to really hammer the point home needlessly.
As mentioned above, the campaign uses some simple L4D2 techniques to develop its own ideas. The first of these the players will encounter is the use of gas cans to get items. Having the campaign begin with a very limited array of tier 1's and only a couple of secondary weapons obviously limits the players' weapon option in the beginning, which affords two purposes to the gas cans. First, they can obviously be used to quickly dispatch a large group of common infected, but if you're willing to carry them around or go back for them, they can also be used to pour into certain item cases that will dispense a single pick-up weapon or item.

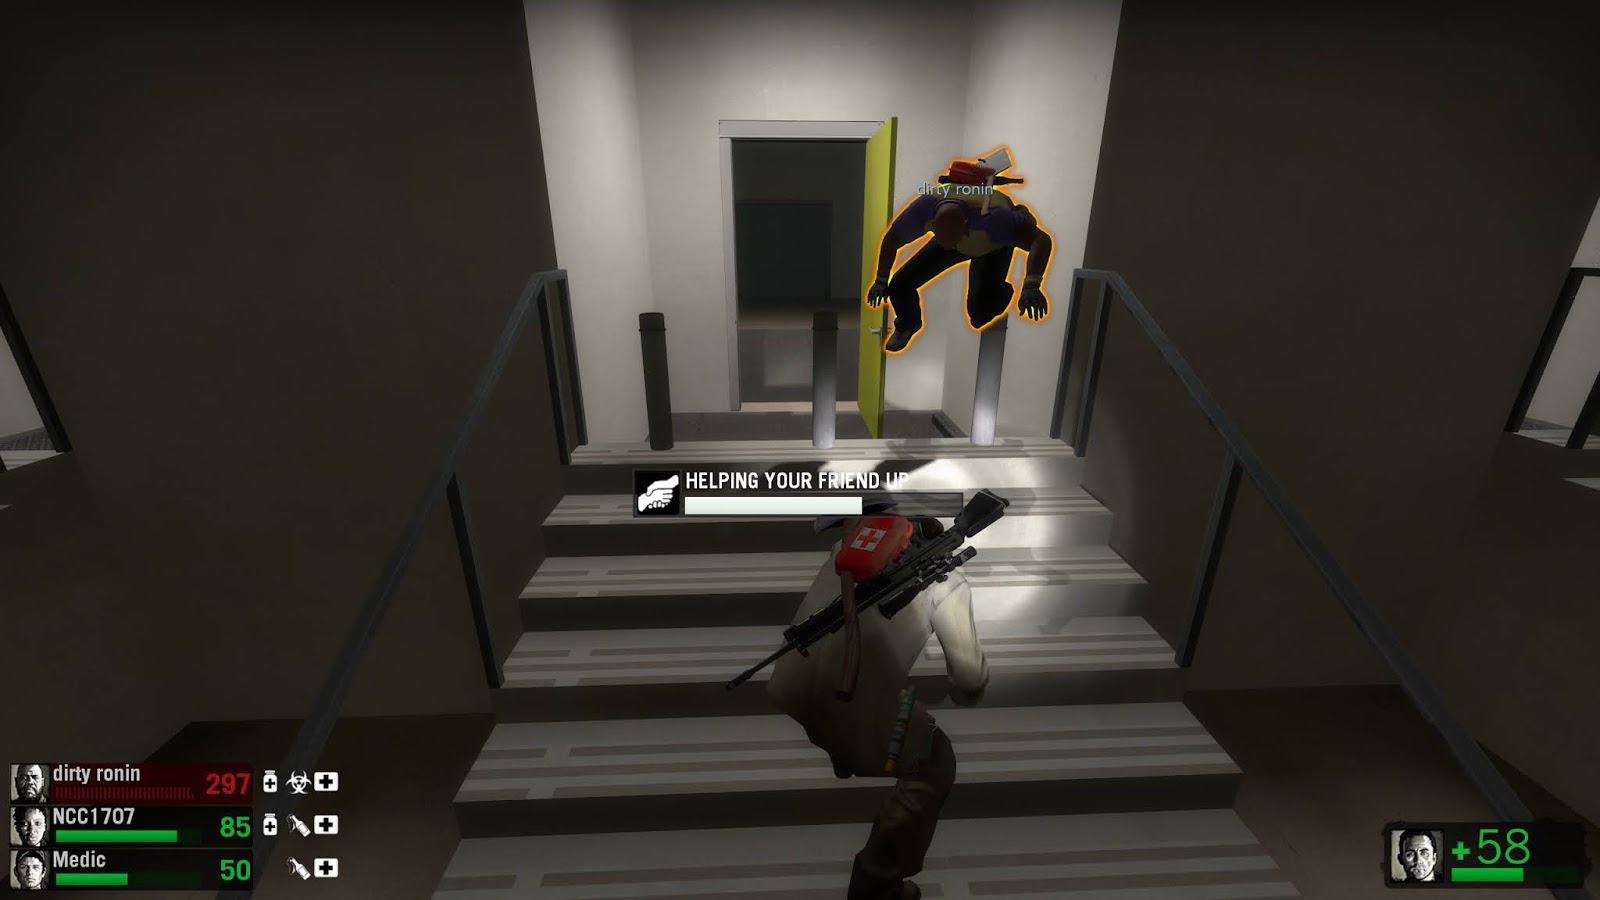
Just as a side note, the other mechanic this campaign uses is that it allows players to get something from behind pictures by shoving them and seeing what's behind them. Introducing this so quickly into the level and--at first without negative repercussions--both teaches players the mechanic and also supplies them with at least one throwable and at least one set of secondary health items, which is helpful in a campaign that's fairly strict on items, at least in the first map. As with the gas cans, this mechanic will be built upon later with the option of more negative consequences, while at the outset appearing innocent.

The most annoyingly stressful trap I found in the first map was that of disappearing platforms. They're not necessarily introduced in a bad way, but in general first-person platforming is not this game's strong suit. When platforms can unexpectedly drop out from under you is a really bad situation, and I can't help but feel that this really holds the campaign back. Most of what goes on in the first map is actually quite fun; there's a holdout where you can use a gas can to purchase the use of a turret, and a lot of the more wide open areas are very visually appealing. The two things I hated most about this map was that there are mandatory tank fights without real adequate supplies, and disappearing platforms. Neither of these felt particularly fair. First of all, as a level designer you can spam as many tanks as you want to the players whenever you want, that doesn't make your level good. Secondly, where the disappearing platforms will be is completely arbitrary and unpredictable. This is kind of why I hesitate to call this a "puzzle map" and instead find it to be a "tricks and traps" map, which is a lesser title. Puzzles presume that you have all the information available to you and come at the solution by logically putting the pieces together. Tricks and traps are purely reactionary, where your success is dictated by a gut reaction to something unpredictable, or when you've either died enough times or had enough trial and error that you've just memorized what to do.

I'm kind of being just a tad unfair here, since you can prepare for the unexpected tank fights (in fact, you sort of have to be prepared for them in standard campaigns too, such as The Passing that occasionally throws a tank fight right out of the gate), and admittedly the platforms do somewhat indicate that they'll drop out if you stop before you progress. But hear me out. The tank parts in the first map aren't really all that difficult, and it's the least offensive of the two parts I had problems with. It's simply annoying when all you're given is a pump shotgun and limited space to move around, and you have to fight a tank. I'm not saying it's not an impossible task but it just feels like a dick move, like it only exists to take health away right off the bat. The real offender though is the segment with disappearing platforms at the end of the first map.

Interestingly enough, this section actually begins with a huge problem, the fact that there's a cutscene that lasts about fifteen seconds showing the gauntlet or obstacle course that the players have to traverse. This really just baffles me and is completely unnecessary, and furthermore this doesn't stop infected from hitting you during the cutscene. In fact, on at least three occasions, this cutscene itself, which launches directly after the second tank is killed, caused either an incapacitation or a total party wipeout. I can't imagine playing this level on Expert for this reason alone, and it's an egregious oversight that damn near ruins the entire campaign. I really can't overstate how bad this cutscene is, not because it looks bad, but because it wrests control and leaves players defenseless. I suppose on thinking about it, it may be possible to circumvent by quickly going idle, but I'm not even sure if that will give control back to the player. This cutscene isn't needed and is itself kind of a trap that has assuredly fucked over many players.

But this section itself is a problem because the rate of infected is simply too high and the area that you can stand is so small. The bridge of the gauntlet is narrow enough that it's easy to get crippled by the constant flow of common infected and specials (especially spitters, hunters, and jockeys) already. However, add onto this the unpredictable falling platforms that limits where you can stand, and to say nothing of if one of your friends gets caught on a ledge and you want to save him, well, this section isn't going to go well. The platforms that fall out on the blue floors are unpredictable, and as far as I know, they might even be randomized. Even if they're not, there's no visual cue until they're gone where the platforms dropped out. I'm harping on this because it's really this segment that stands out to me as the biggest failure of the campaign. There's a difference between a segment that's fair but tough and one that's wholly unreasonable. The difference is that one feels playtested and balanced to be accomplished by new players, while another requires prior knowledge of what's going to happen. I know that the platforms on the blue floor may randomly drop out, but I've played this map with enough newbies to know that they don't make that connection, and that the map becomes exponentially more difficult when even one player is unavailable. Spit acid is the bane of this section's existence and spitters tend to spit the instant they see you, punishing players for even waiting to look before they leap. That's not even considering the fact that the bots themselves will make this section completely intolerable unless you have a bile jar and kick all the special infected you see. None of this seems properly playtested, and even though I've made it through this gauntlet, I still can't help but see this as unfair and not fun at all.
The
second map is, well, not as bad as the first, but also not as memorable. I liked the large open area you start out in, but I did find one section with the wooden paneling to look really out of place, almost like it was a placeholder texture. Anyway, there's a fight with two tanks, and the only thing I didn't like about that was that it wasn't clear if you needed to keep the gas can intact or if you were allowed to use it to ignite the tanks. This is another kind of oversight, because the first map trained you in a certain way to think, and then that kind of thinking is somewhat unfulfilled because I'm pretty sure you don't need to keep the gas can for later.

The next major area that's pretty distinct is a section cordoned off by a fence that's flooded and has a switch across a section with water and platforms. The caveat here is that columns from the ceiling will periodically descend, incapacitating anyone who gets hit by them. I don't really see this as too unfair, but it does make it so you really only want one person going to hit the switch to limit the damage done, if any. Another cutscene plays after that, which I find to be another problem because there are plenty of options to make it clear how a switch opens a door other than making it an entire cutscene.

The next part I didn't really like, more so because the campaign hasn't really trained people to think this way. The idea is that there are red alarm bells next to red props, which will trigger alarms if anyone takes supplies on them. It's kind of an interesting risk/reward type of deal, except that everyone I've always played with always trips these alarms, even if they've played this campaign before, and it always seems like they just assume there's always a horde here when it's clearly a test. It seems to me that nobody has made the connection between these red props plus the alarm and the horde that gets started because of it. Now, it's hard to accuse a campaign of this if the players just don't seem to put two and two together, but it unfairly punishes experienced players for the ineptitude of less perceptive players. Anyway, my only point here is that I didn't think that the campaign properly taught that these trigger hordes (even though alarms next to red pictures in the first map did), as evidenced by the fact that everyone always seems to trigger the hordes.

The
last part of the second map is one of the most memorable parts, the areas with falling cars and pipes to drop onto. The only thing I really have to say about this is that it can either feel frustrating not knowing what to do to avoid getting hit by cars (everyone I play with seems to constantly get hit by them) or absurdly simple if you do. I can't understand why nobody can see the obvious solution but it is of course to stay directly underneath the pipe you previously jumped from. That and also look up. If there's a platform between you and a car, the car can't hit you. It's so simple and yet nobody can seem to figure this out. I'm not sure who to blame more, the map designer or the players. I do think a little sign in the form of a kind of Portal sign (those little stick figure signs) showing a person standing underneath a pipe to avoid a car might alleviate a lot of incaps, but then it might defeat the purpose of figuring out this part entirely.

Anyway, we're now onto the third map and this one is much more of a mixed bag than before. There's a lot that just okay here while also having a lot of annoying parts. It opens well enough, except that on my most recent playthrough there was a tank right off the bat. Soon it moves to an area of complete guesswork with three rooms with three yellow doors each. Only one of the doors will open to the next room, while the other two drop out the floor from underneath you. This is more shitty guesswork and I have no idea who thought this was a good idea. If there's any way to be able to predict or know which door is correct, I would love to know it and it should be made a lot more obvious.

After that area, there's a section that can be exploited. In the tall room with the metal detectors, one player can drop down from the top of the room while the others go the normal way and set off the alarm. That way the one player who dropped down can deactivate the alarm immediately. I thought it was a bit of an exploit that deserved mention. That whole room isn't really anything to write home about except as with the first map, the floor will occasionally drop out from under the player and force them to be underwater, although fortunately it will ascend again after a few seconds.

The area after this is probably the worst part in the entire campaign. I don't like these lasers in any campaign they're in. I don't think they're instant-death, but they do deal a lot of damage and if you're lagging at all, you're basically screwed because you won't be avoiding them. Not only that, but they're relatively fast and completely unpredictable unless you've played this campaign before and developed a strategy. I've even made it through here based on luck and guesswork and not feel that I really accomplished anything because it just doesn't feel rewarding, it feels like luck or guesswork.

There's still a lot more to this map after the dickishness of the lasers. There's a spinning room with a dumpster and some tanks. Whether or not you find that fun, especially after probably being incapped by the lasers, I suppose you'll already know right now. Afterwards there's a well-sized room that has a pod in the center where one person enters and is granted powers of causing lots and lots of fire. I guess it's the "power trip" section as a reward for the rest of the map, but there's still two or three hordes plus two tanks to still fight.
This area lasts a long time but is actually kind of fun, mostly because the area to fight in is nicely developed and well-supplied. It's actually kind of a far cry from the challenges already in the beginning of the first map, which makes me feel like this wasn't fully playtested (since campaigns should generally get more difficult as it progresses, not less). The level doesn't last long after this and leads to the final map.
The last map starts off with some oddly unnecessary rooms before leading to a huge arsenal of weapons and yet another pin number (which I haven't mentioned up to this point, but if you're this far you've probably already played this campaign so you know what they're about). By this point there shouldn't be too much that you haven't gotten access to already, but it's nice to give players a chance to stock up on their preferred weapons.

The holdout area after the elevator is a real doozy. There's water everywhere with crushing columns that fall every twenty-five seconds or so, plus a constant stream of infected. It is possible to get on the ledges of the pipes if you crouch-jump right at the ledge, but this is somewhat punished by the deluge of specials that will fall on top of you, such as boomers, spitters, and chargers, all of which can be a death sentence at that spot. As you may predict, the water has a real negative effect on molotovs thrown at tanks, prompting you to play a little differently.

After the holdout, there's a long gauntlet "rush" mode where you have to run through more water (with some opportunities to take out some tanks and other infected with mounted turrets, and after that another Hell of a falling platform with cars section. This is the real part that seems to cripple players. It's bad enough that the holdout takes a long while and has precautions in place to manage how people play the campaign, but then when they have to deal with the car part again, and this time under the stress of having infected and tanks following in close pursuit, well, let's just say it usually doesn't go well. Most players, I assume, will just want to get it over with and even if they can go back for downed survivors (oftentimes they can't because you're descending from platform to platform), they probably won't, just to get the campaign over and done with. The ending itself is kind of cheeky but in terms of playing, a bit of a mixed bag.

Difficulty: Questionable Ethics is a notoriously challenging campaign, with difficulties ranging from platforms falling out from beneath you to laser beams to falling cars to being seemingly unable to avoid a dumpster from being punted at you. You will, in all likelihood, need all the help you can get here. It's not too much to say that first time players should probably play on Easy and even then expect to die at least once on each map. This campaign requires patience and learning from trial and error. It doesn't bill itself as a fair map and shouldn't be taken as one.
Final Verdict: Questionable Ethics has a reputation for being a puzzle map, but it's not really a puzzle map. Its gameplay style requires trial and error or guesswork, which puts it in the "tricks and traps" style map that test reaction to unpredictable events over putting pieces of a puzzle together. Part of me is still baffled over why it's so immensely popular. Maybe it's that the name is taken from a Half-Life chapter. Maybe it's the aesthetic. The campaign is very appealing to look at and on the surface has a lot of seemingly fair elements. However, experience over the years playing this, I don't have many kind words for it other than its look. This map has several components that seriously hold it back, even to the point where it can feel like an intolerable mess that didn't get played enough. I'd say that unfortunately this is one of those campaigns that's bizarrely, unexpectedly, and in my opinion without warrant, risen to the level of a classic L4D2 campaign, so I suppose if you still haven't played it, you kind of have to see what the fuss is about. Maybe you'll enjoy it. However, if you're just passing through here and you just want to know good solid campaigns, this one is very different and clearly isn't for everybody. If you like maps with unpredictable traps, however, then this is one of the most polished and you could do with a lot worse.
Rating: 3.9/5.


No comments:
Post a Comment